
Why and How to Process Illustrator Outlines
hello. It is an urban brush.
This is a post about why and how to create outlines when working with vectors in Illustrator.
When we send the results of our work on our computers to others or to a print shop, we are asked to outline or outline them.
The reason is that the computer conditions I used and the computer conditions of others are different.
In this time, I will guide you how to handle the outline of fonts and lines.
1. Font outline processing
When you install the computer, there are fonts installed by default, and there are fonts that you have installed yourself.
By default, the installed font does not matter, but if the text written with the font I installed is included in the illustrator,
Sometimes when this file is used on someone else's computer, there is a problem because the font is missing.
In this way, I wrote the text in illustrator, and the font of the written text was installed separately by me.
If you send this file to the printing company as it is, if the computer used by the printing company does not have the font, it will be printed in a different font.
The text will be outlined and sent.
Since the term 'outline processing' is unfamiliar here, I may be confused about what it means.
In other words, it means that the text written in the font is turned into an image, and when the outline is processed, the text is changed to
It cannot be written and erased by typing like normal letters.
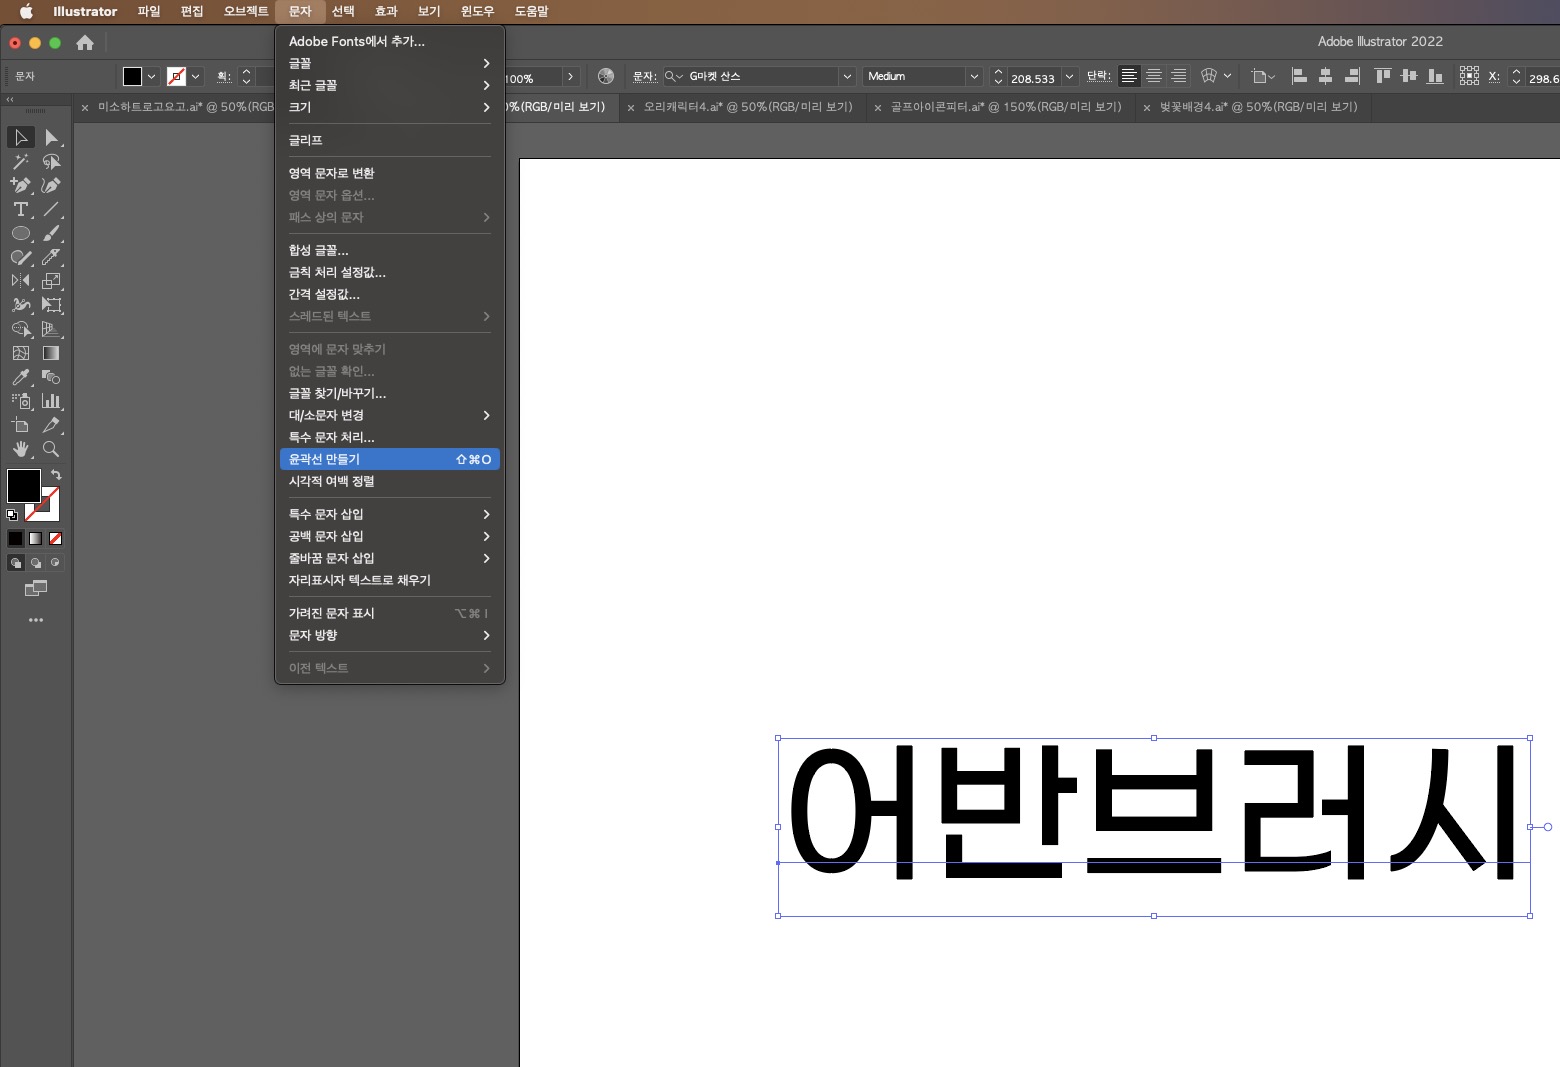
The method of contouring is to select 'Create outline' item in the Illustrator 'Text' tab or press the shortcut command + shift + o to process the outline,
You can no longer edit the text, but it will be converted to a surface so that the same text can be seen on any computer.
It is generally recommended that these font outlines be used only in files where the final work has been completed.
Since text can no longer be edited, it is recommended to back up the file before outline processing in case the text is changed or modified later.
If this process is inconvenient, if you save it as a PDF file (preserving the editing function), the PDF file even saves the font even if you do not process the outline.
You can also save as a PDF file.
2. Outline the line
Illustrator's objects are made of lines or planes.
Since the face is basically contoured, there is no big problem,
In the case of lines, there is an editing function that can change the thickness, so sometimes they may look different on other computers.

I drew a line as above. Line thickness, also known as stroke, can be adjusted in the Illustrator menu.
However, when you select this line and increase or decrease its length, there are cases where only the left and right heights change while the thickness of the line remains the same.
In some cases, even the thickness may change together, such as noodles.
This may vary depending on each illustrator's settings.
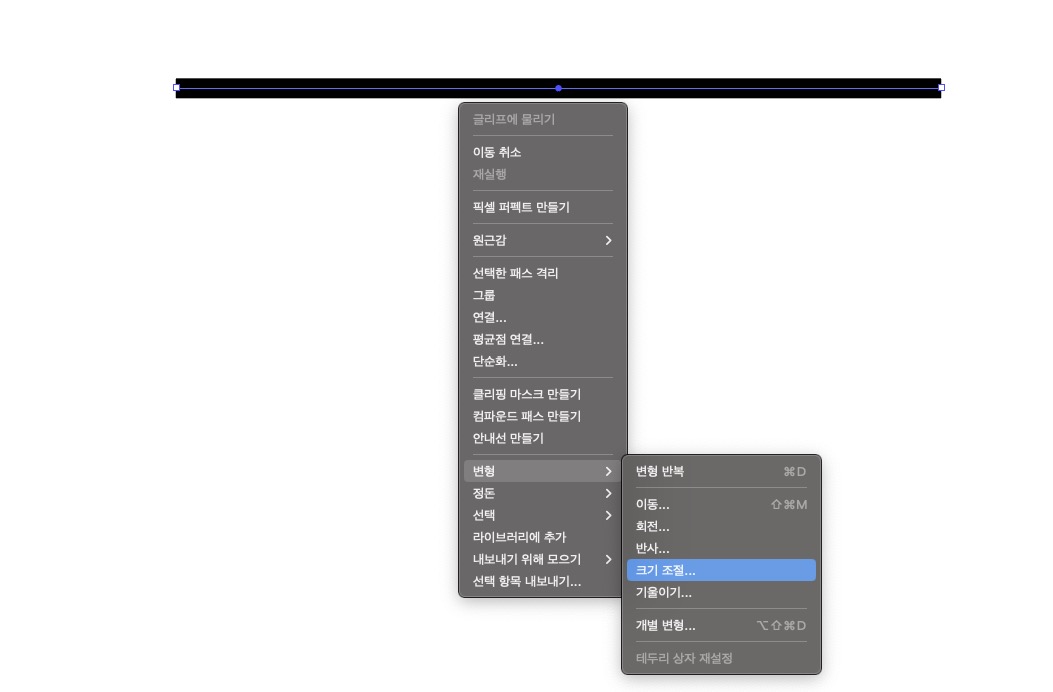 Select the line and click the right mouse button to bring up the menu as above, and select the 'Resize' item there.
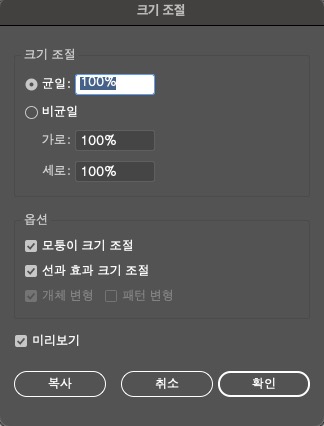
In the Options menu, there is an item called 'Line and effect size adjustment',
When checked: If you increase the size the same as the noodles, the thickness will increase.
Unchecked: Unlike cotton, the thickness maintains the initial thickness even if the size is increased.
It applies differently as above.
Therefore, if you draw using lines and planes together when editing a picture, you must check the 'Adjust line and effect size' item.
After drawing a picture as much as possible, change the line to a plane and process the outline.
You need to make sure it doesn't look different on different computers.
How to outline a line as a plane
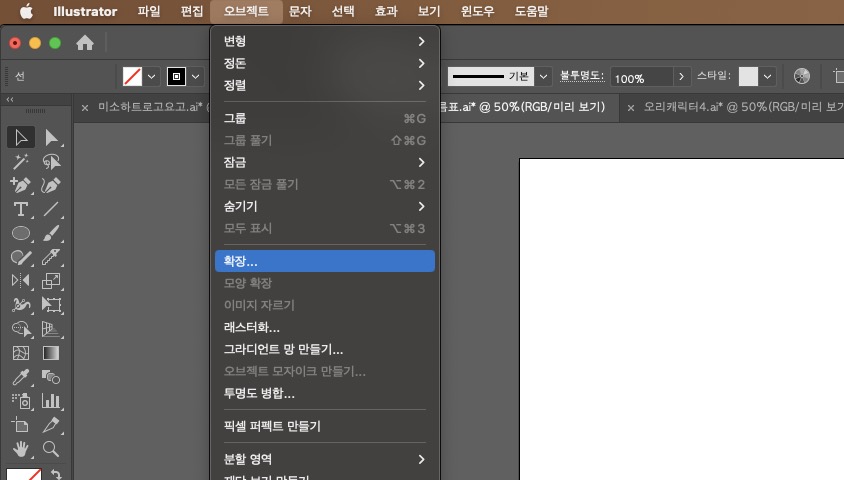
If you click the 'Expand' menu in the object tab, the following window appears.
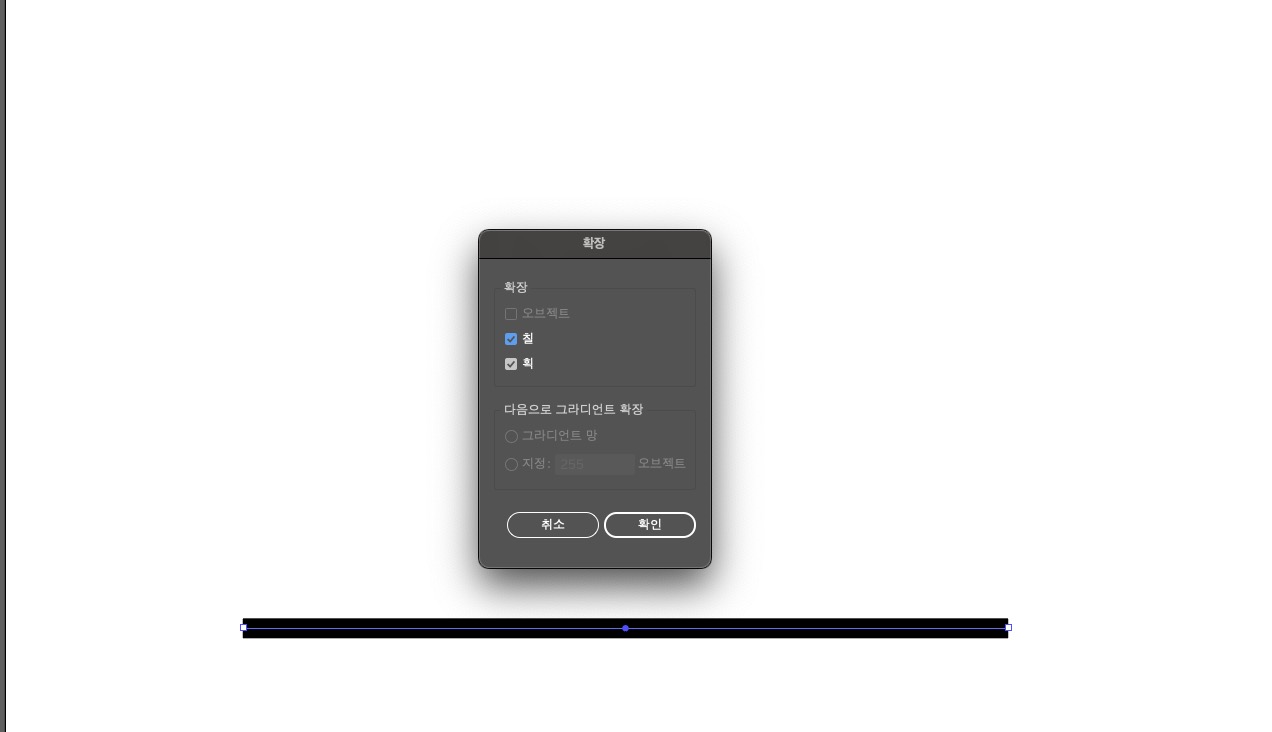
After checking 'Stroke' in the extension menu, if you press the 'OK' button, the line is changed to a plane and expanded.